Sourdough Pumpkin Rolls with Sage and Browned Butter

Breads, Sides

Two weeks ago, my Chief Recipe Taster and I adopted a puppy. Rory is a three-month old Australian cattle dog mix who loves belly rubs and playing fetch. She adores pouncing on toys and getting peanut butter out of Kongs. Oh, and did I mention? She also excels at trying my patience.

I thought I knew what getting a puppy would entail. I was prepared for sleepless nights and extensive “sit” training. I was less prepared for a being who vacillates between puppy-like sweetness and adolescent-like disobedience and sucks up every minute of my time. Overnight, we went from largely deciding for ourselves how to spend our off-work hours to orienting our schedules around Rory. It’s largely been a fun and worthwhile adjustment, but an adjustment nonetheless.

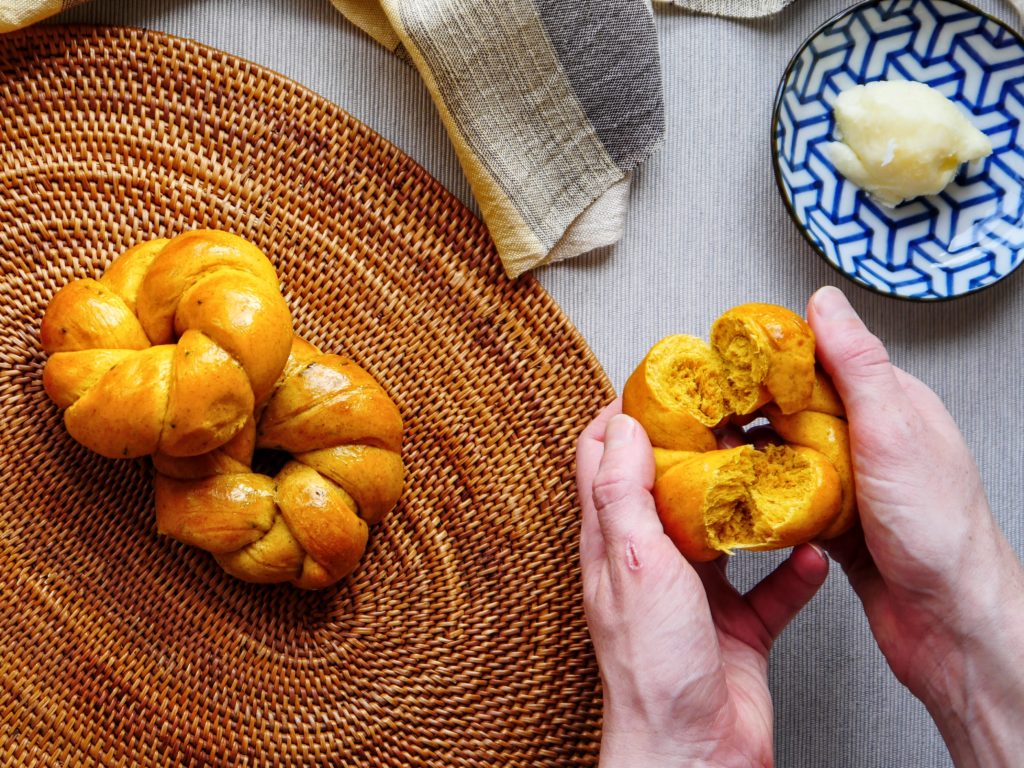
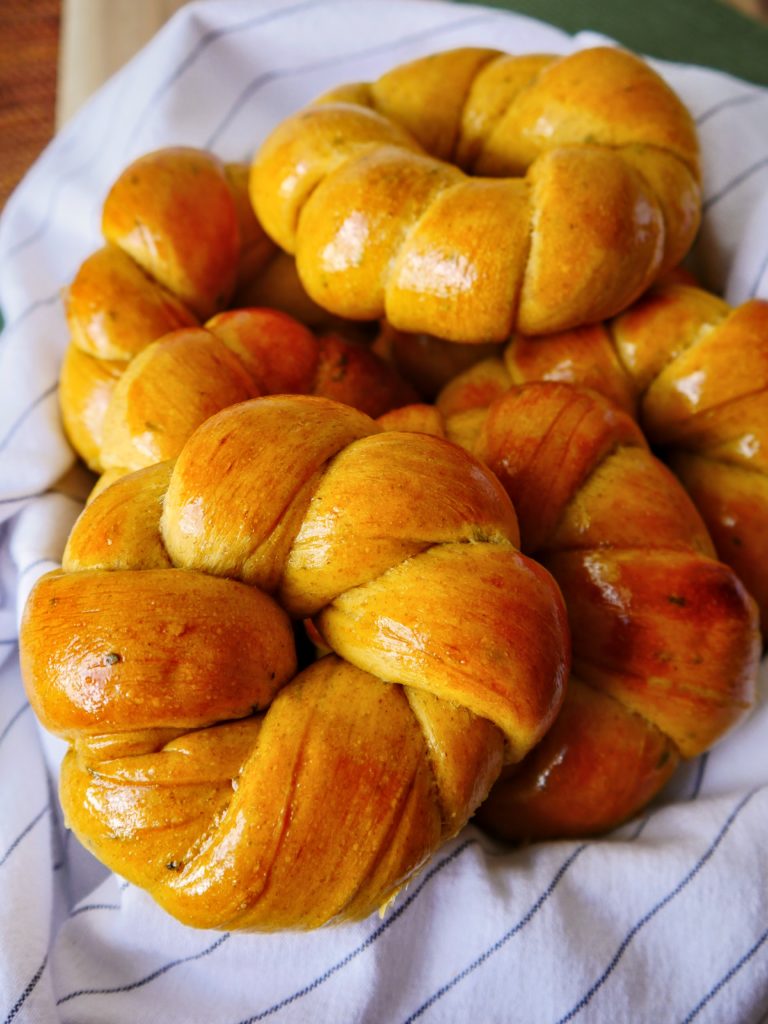
With less time to spend in the kitchen, I find myself turning to that can be patient, like bread. Bread is perfect for this period; after a bit of activity I can let the dough rest, play with our  pup, and return to it later. Unless you flagrantly abuse the dough by not letting it proof long enough or far too much, it is forgiving—a few minutes under or over shouldn’t hurt. This recipe uses both sourdough starter and yeast as leavening agents, so you pretty much can’t fail, while milk, butter, and eggs lend a pillowy texture. The rolls are the perfect accompaniment to fall soups and stews, and would be a welcome addition to your Thanksgiving table, too. They’re a bread that extends you patience while you exercise your own.

Sourdough Pumpkin Rolls with Sage and Browned Butter

Source: I Thought There Would Be Free Food

Makes 16 rolls

Active time: ~60 minutes; total time: ~4 hours

Ingredients:

  • 115 grams milk, any percent
  • 3 grams active dry yeast
  • 40 grams brown sugar
  • 60 grams butter
  • 15 grams finely minced sage
  • 100 grams ripe sourdough starter
  • 2 egg yolks, lightly beaten
  • 145 grams pumpkin puree (NOT pumpkin pie filling)
  • 300 grams all-purpose flour
  • 150 grams whole-wheat flour
  • 10 grams table salt
  • 1 egg yolk mixed with a little water, for egg wash (optional)

Directions:

  • Warm the milk in the microwave or on the stove until it’s just above room temperature—it should feel warm to the touch, not hot.
  • Add the yeast and brown sugar to a large bowl. Add the milk when it is warm, and stir to combine. Let the yeast proof for ~10 minutes.
  • While the yeast is proofing, brown the butter. Place the butter in a small skillet and heat over medium-low. Once the butter has melted, increase the heat to medium. Swirl the pan regularly or stir it with a spatula to ensure that the butter browns evenly. Once the butter is studded with little brown bits and smells toasty and delicious, take the skillet off the heat and stir in the sage. Set aside and let cool slightly.
  • Once the yeast has proofed, add the sourdough starter, egg yolks, pumpkin puree, and brown butter-sage mixture to the bowl and stir to combine.
  • Add the flours and salt to the bowl and mix with your hand or a spatula. Using your hands, work the dough into a mass and then knead until the dough is smooth, ~10 minutes. If needed, add splashes of milk or flour to achieve the right consistency.
  • Place the dough in a greased bowl, cover, and let rise until puffy and almost doubled in size. This will likely take at least 90 minutes, depending on the temperature of your kitchen.
  • When the dough has doubled, knock it down gently and turn out onto a lightly floured workspace.
  • Divide the dough into 16 pieces. From here, you can roll each piece into a rope at least 18 inches long and form them into knots using these instructions, or simply shape them into balls. Either way, set the formed rolls on a parchment-covered baking sheet, cover loosely with a light towel or plastic wrap, and let rise until puffy, at least 60 minutes.
  • Towards the end of the proofing period, position a rack in the middle of your oven and preheat it to 350°F.
  • Once the rolls have proofed, gently brush each roll with the egg wash mixture. Bake the rolls for 17-20 minutes, until lightly golden brown. Serve warm.

Zucchini-Feta Muffins

Breads, Sides
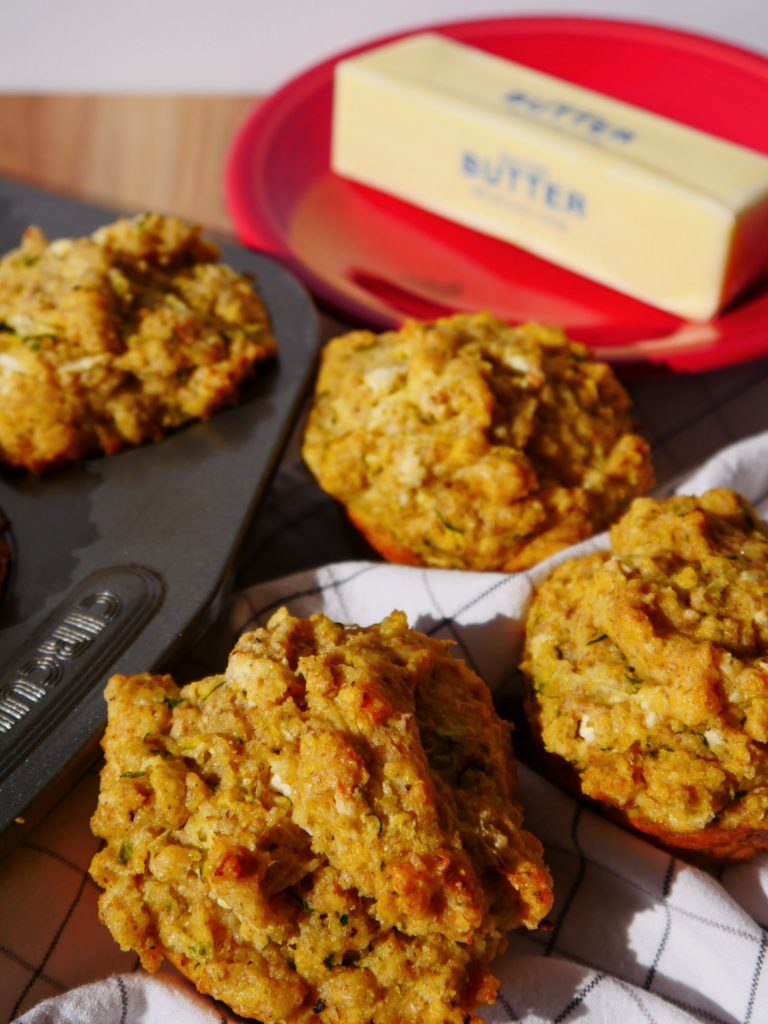
Golden muffins studded with bits of feta and shreds of zucchini nestle into a white tea towel. A stick of butter on a red plate is visible in the background.

For someone who has spent the past two months bemoaning the swirling heat vortex that is DC in the summer, you would think I’d have been thrilled to see the food blogosphere explode into a panoply of apple-studded, pumpkin-spiced foods on September 1. But no: now that it’s cool enough you can go outside without instantly breaking into a sweat, I’m ready for summer 2.0.

Thankfully, the produce stands around here agree with me. Sure, apples are starting to take up some real estate, but there are still plenty of peaches and our CSA bag arrives stuffed with zucchini each week. I appreciate zucchini for what it is: the tofu of the vegetable world. It plays well with others ingredients and takes on whatever flavors and characteristics you might want it to. This recipe plays with zucchini on two levels, first liberating it from the cloyingly sweet quick breads you tend to see and then pairing it with an old favorite, feta, as often seen in dishes from around the Mediterranean. The result is a savory muffin that goes well with other late-summer produce like eggplant, red peppers, and tomatoes. They’re good enough to make you want to pause your fall fare and hold onto the last of summer for a bit longer.

Zucchini-Feta Muffins

Source: I Thought There Would Be Free Food

Makes 12 muffins

Active time: ~25 minutes; total time ~55 minutes

Ingredients:

  • 1 medium zucchini, ~10 ounces or 292 grams
  • ~4.5 ounces feta
  • 1 cup whole wheat flour
  • 1 cup all-purpose flour
  • 1 cup cornmeal
  • 1 tablespoon baking powder
  • 1 teaspoon salt
  • 1 teaspoon ground black pepper
  • 2 eggs
  • 1 scant cup milk
  • 1/3 cup vegetable oil

Directions:

  • Preheat oven to 350°F and grease a 12-cup muffin tin.
  • Trim the ends off of your zucchini and then grate it using a box grater, large-holed microplane, or food processor. Working with a handful of zucchini at a time and standing over your kitchen sink, squeeze the zucchini in your fists until most of the liquid has run out. Repeat with the remaining handfuls, then set all of the zucchini aside.
  • Crumble the feta into small chunks no larger than a pencil eraser. You should have about one cup. Set aside.
  • Mix together the flours, cornmeal, baking powder, salt, and black pepper in a large bowl.
  • Whisk together the eggs, milk, and vegetable oil in a medium bowl.
  • Add the wet ingredients to the dry ingredients and fold to combine them. When the ingredients are mostly combined, add the zucchini and feta. Fold them into the batter until they are well distributed.
  • Divide the muffin batter evenly amongst the cups. Bake for ~30 minutes, until lightly browned. Enjoy warm or toasted with a pat of butter.

Roasted Potatoes with Garlic and Rosemary

Sides
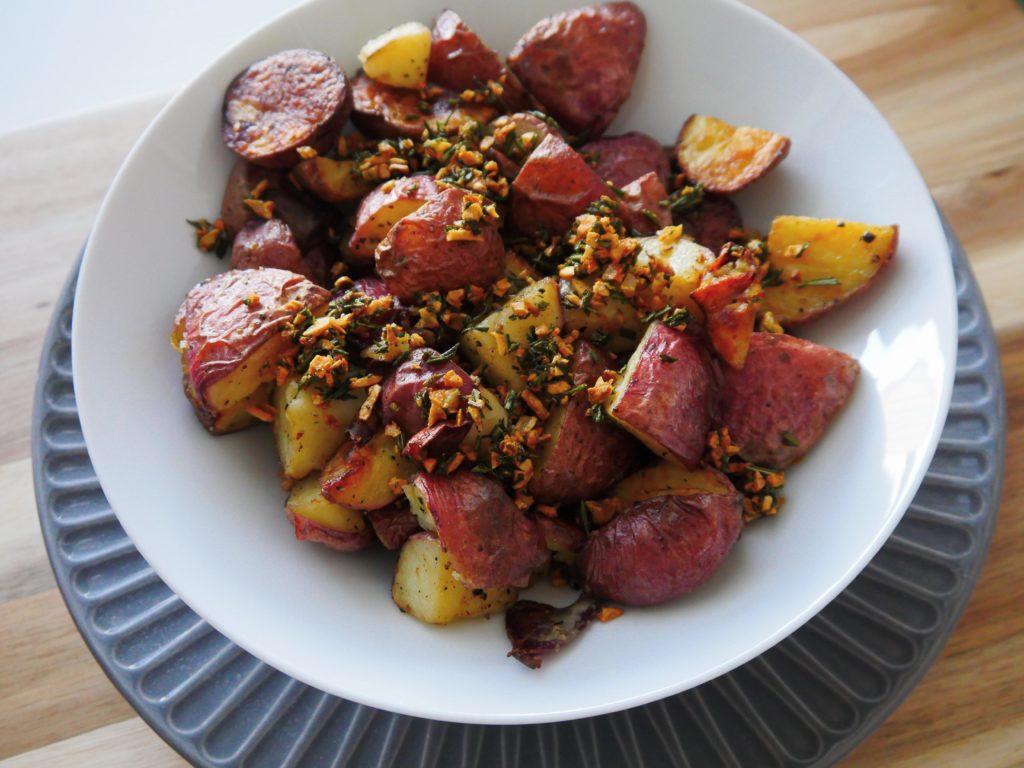
Roasted red potatoes, decorated with sauteed garlic and rosemary, sit in a white bowl on a wooden surface.

D.C. has been hot and steamy for months now, which means that you have to be either dedicated or crazy to devote yourself to perfecting a roast potato recipe. I am a bit of both, which helps explain why I’ve roasted more than 10 pounds of spuds in the past few weeks.

My quest began when my chief recipe taster and I were visiting my in-laws. We were planning a simple dinner of grilled salmon and asparagus, and I decided to roast some potatoes to round out the meal. Easy, right? It didn’t seem like the type of thing I needed a recipe for; I just tossed the taters with some oil and salt and put them in a hot oven. But that approach only got me so far. Although the potatoes did brown nicely, they were dry and didn’t have much flavor. I wanted more—non-dry potato centers; dark-brown crusts; and flavor that complimented rather than whispered or shouted.

The Internet quickly led me to a method that is apparently common knowledge in England: the key to perfect potatoes is to boil them before roasting. After boiling, many recipes called for you to rough up the potatoes—usually by shaking them in a bowl—to encourage a bit of starchiness that then crisps up nicely with the help of heat and a lot of oil. The boiling method got me closer to my goal, but most recipes I tried used too much oil, weren’t that much crispier, and still didn’t have the flavor I was looking for. Instead, I cut the oil in my recipe and borrowed a flavor-boosting trick from J. Kenji López-Alt: sauté garlic and rosemary in olive oil, then strain them out and use the infused oil to roast the potatoes; once the potatoes are done, toss them with the garlic and rosemary. (This method keeps you from burning the garlic in the oven, which would happen if you were to cook the garlic and potatoes together.)

Pounds of potatoes and weeks later, I finally had a recipe good enough to impress my in-laws,  easy enough for a weeknight, and certainly worth the devotion.

Roasted Potatoes with Garlic and Rosemary

Source: Inspired by J. Kenji López-Alt via Serious Eats

Active time: ~30 minutes; total time: ~60 minutes

Serves 3–4 people

Ingredients:

  • 1 1/2 pounds potatoes (I’ve used red potatoes and fingerlings with success)
  • 2 generous tablespoons olive oil
  • 3–4 medium garlic cloves
  • Fresh rosemary, enough for 1 generous tablespoon when finely minced
  • Salt & pepper, to taste

Directions:

  • Finely mince the garlic and the rosemary; set both aside.
  • Give the potatoes a good scrubbing. If your potatoes are small, about golf ball size, cut them in half; quarter them if they’re larger.
  • Precook the potatoes. You can either put them in a microwave-safe bowl and microwave them for ~7 minutes, stirring once or twice, or boil them in a pot of salted water. Either way, they’re done when you insert a cake tester (or the tip of a sharp knife) into the thickest part of the potato and it meets with little resistance.
  • While the potatoes are cooking, preheat your oven to 450°F.
  • Heat the olive oil, garlic, and rosemary in a small skillet over medium heat. Cook, stirring occasionally, until the garlic starts to brown. Don’t let it go too far—in fact, you might want to stop just before you think the garlic is done. Remove the skillet from the heat and immediately strain the garlic and rosemary out of the oil. Set the garlic and rosemary aside.
  • Toss the potatoes with the flavored olive oil and a hefty amount of salt (more if you microwaved the potatoes, less if you boiled them in salted water).
  • Place the potatoes, cut-side down, on a cookie sheet and put it into the oven. Roast the potatoes for at least 15 minutes without moving them. After that, stir the potatoes occasionally, until they are golden brown.
  • Tip the potatoes into a bowl and add the reserved garlic and rosemary. Toss well to combine and serve immediately.